Wednesday, April 29, 2015

Linda's Blog

 Linda Walsh,  has written the most interesting article on "The History Of Faceless Dolls"
 I REALLY loved it..Thank You Linda,  Hugs Sherrie
Now click on the link below and go have fun!
hen I was doing my "History of Faceless Dolls" research I ran across a faceless doll that was created in 1765 and, 250 years later, is still

Monday, April 27, 2015

Make your own Gesso


Couple ways to make your own "Gesso"

#1: is by: Astar's Place
http://www.ajsartsanddesigns.com/2011/01/my-homemade-gesso-recipe.html
  A.J.’s Smile Homemade Gesso:
Couple things about this it is a little rougher than normal gesso but it does sand nicely.  Because of the baby powder it will be a little chalkier when sanding so use a fine sand paper.  Cure time is 24 hours but you can speed it up with a hair dyer or a heat gun.
  • 1 part white glue (I used cheap white glue from the Dollar Store - you can also use PVA glue or Elmer's)
  • 3 parts water (since I used the cheap white glue I should have decreased the water to 2 parts)
  • 6 parts baby powder (since I used way more water than what I should have, I used more baby powder.  I did not measure I tilted the baby powder container and squeezed - scientific I know)
  • I added some Titanium White from the an almost empty 2 oz. tube of Liquitex  (there was maybe a TBSP left in it.)
I mixed everything in a air tight container the constancy is like a pancake batter - it will settle (like normal Gesso) so you will need to mixed it before use.  Surprisingly it takes paint really well, it also sands nicely.  It also way cheaper than "real" gesso - lol.


#2: Learn How to Make 3 different recipes for Homemade Gesso/ 
Tutorial– Plus how to use DIY Gesso with different art mediums
 By:Shemi Dixon
 Here is my homemade gesso experiment. I will show you how to make three different gesso recipes and we experiment with our DIY handmade Gesso. I will use water colors, oil pastels, markers, colored pencils; acrylic paints with each one the recipes and talk about the differences.
 
I loved this tutorial , hope you enjoy also!!
Hugs Sherrie Nordgren!

Saturday, April 25, 2015

Rag Baby's

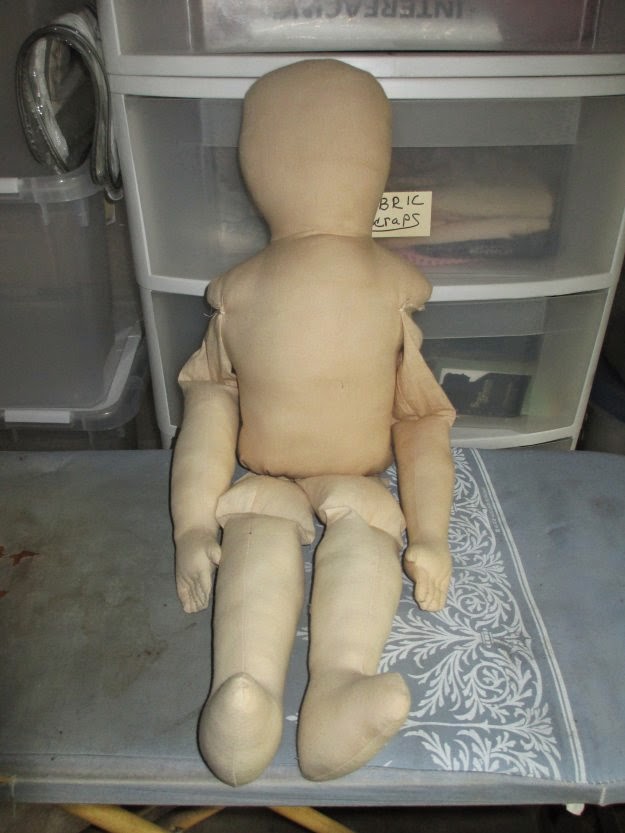
 I am so excited..I have finished the 14 Inch Rag Baby .and also the 30 inch Rag Baby..
above you can see I did a pencil face and a bit of blush , I then sealed her face.
She really looks from what I call "YesterYear"
 Together
 Showing the 30  inch Rag Baby pretty fingers!

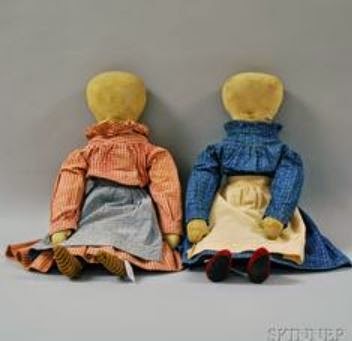
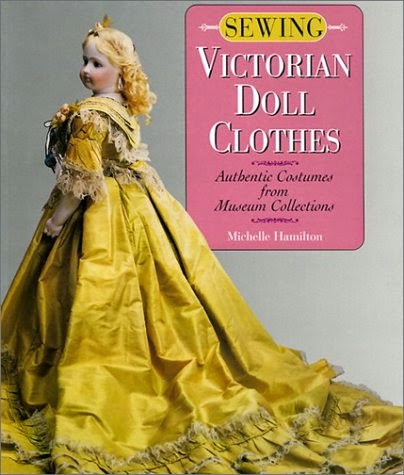
I have decided since there is no  clothing pattern, I will dress them both in Civil War period
ooo my favorite, Good news is my quilting store just started carrying  a beautiful line of  
Civil War period fabric.
These gals will be dressed to the nines!!

Thursday, April 23, 2015

Little Cabin Creations

Have some great news to share with you all today!!  I stopped by
http://littlecabincreations.blogspot.com

Today and and spent a couple hours! If you haven't been to Little Cabin Creations..GO!
Sherri Farley is AMAZING.. Her tutorials are straight from her heart. and she is totally a professional seamstress!
If your wondering about the book above, I just ordered it from  amazon..
You will see it on  http://littlecabincreations.blogspot.com  on her right side column Doll Books
Sherri show really nice pictures..I can't wait to get book!

Sherri's dolls are incredible as are her Animals and Santa's..so much more!
Trust me when I say you will be there for a while, Sherri Thank You for all your awesome sharing..It takes allot of time to create tutorials and you really give  from your heart to all us doll makers!
Hugs Sherrie Nordgren

Tuesday, April 21, 2015

14 inch Baby Rag Doll

Ok have the 14 inch  Baby Rag Doll  ready for the fun part.
I decided to do a pencil face on her.  The pattern shows her just undressed but I am 
going to dress her.
Of the 4 projects I am doing /posted about.Two are finished..The Towel and 
the 14 inch  Baby Rag Doll..